HT16K33Matrix
This is a hardware driver for the Adafruit 1.2-inch 8x8 monochrome LED matrix backpack or the Adafruit Mini 0.8-inch 8x8 LED Matrix, which are based on the Holtek HT16K33 controller. The driver communicates using I²C.
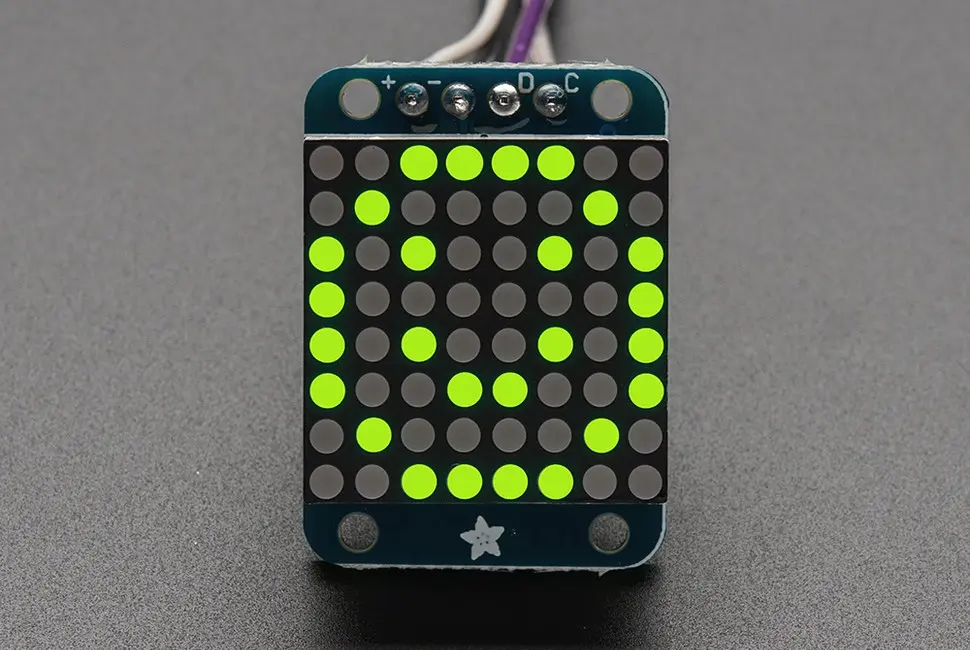
Adafruit Mini 0.8-inch 8x8 LED Matrix. Image © Adafruit
Compatibility
HT16K33Matrix is compatible with MicroPython and CircuitPython.
Importing the Driver
The driver comprises a parent generic HT16K33 driver and a child driver for the matrix display itself. All your code needs to do is import the latter:
from ht16k33 import HT16K33Matrix
You can then instantiate the driver.
You will need both the display driver file and ht16k33.py in your project folder.
Characters
The class incorporates a full, proportionally spaced Ascii character set. Additionally, you can use Ascii values 0 through 31 for user-definable characters.
Orientation
Different matrices are mounted at different angles. Use set_angle() to rotate the display buffer through the number of right-angles needed for correct viewing.
Method Chaining
Most methods return a reference to the driver instance (self) to allow method chaining with dot syntax:
led.clear().plot(0,1,0).draw()
Class Constructor
- class HT16K33Matrix(i2C_bus, i2c_address=0x70)
To instantiate an HT16K33Matrix object pass the I²C bus to which the display is connected and, optionally, its I²C address if you have changed the display’s address using the solder pads on rear of the LED’s circuit board.
The passed I²C bus must be configured before the HT16K33Matrix object is created.
- Parameters:
i2c_bus (I²C bus object) – The I²C bus to which the display is connected.
i2c_address (Integer) – An optional I²C address. Default:
0x70.
Examples
# MicroPython
from ht16k33 import HT16K33Matrix
from machine import I2C

# Update the pin values for your board
DEVICE_I2C_SCL_PIN = 5
DEVICE_I2C_SDA_PIN = 4

i2c = I2C(scl=Pin(DEVICE_I2C_SCL_PIN), sda=Pin(DEVICE_I2C_SDA_PIN))
led = HT16K33Matrix(i2c)
# CircuitPython
from ht16k33 import HT16K33Matrix
import busio
import board

i2c = busio.I2C(board.SCL, board.SDA)
while not i2c.try_lock():
    pass
led = HT16K33Matrix(i2c)
Class Methods
- HT16K33Matrix.set_brightness(brightness=15)
Set the LED’s brightness (its duty cycle). If you don’t pass a value, the method will default to maximum brightness.
- Parameters:
brightness (Integer) – An optional brightness value between 0 (dim) and 15 (maximum brightness). Default: 15.
Example
# Turn down the display brightness
led.set_brightness(1)
- HT16K33Matrix.set_blink_rate(rate=0)
This method can be used to flash the display.
The value passed into
rateis the flash rate in Hertz. This value must be one of the following values, fixed by the HT16K33 controller: 0.5Hz, 1Hz or 2Hz. You can also pass in 0 to disable flashing, and this is the default value.- Parameters:
rate (Integer/Float) – The flash rate in Hertz. Default: 0.
Example
# Blink the display every second
led.set_blink_rate(1)
- HT16K33Matrix.set_angle(angle)
Set a default rotation for the matrix. Pass in an angle between 0 and 360 degrees — this will be adjusted to the nearest right angle.
The angle setting will remain until changed. After changing the angle, you should call draw() ` to update the LED itself.
- Parameters:
angle (Integer) – An angle value between 0 and 360 degrees.
Example
# Turn the image upside down
led.set_angle(180).draw()
- HT16K33Matrix.set_inverse()
Flip the matrix’s pixels from lit to unlit and vice versa. You should call draw() afterwards to update the LED.
The state of the display is recorded so subsequent calls to set_icon(), set_character() or scroll_text() will maintain the display’s state.
- HT16K33Matrix.set_icon(glyph, centre=False)
To write a character that is not in the character set, call
set_icon()and pass a glyph-definition pattern. Optionally, you can also specify whether you want the character centred on the display, if this is possible.The glyph pattern should be a byte array; each byte is a column of image pixels, one bix per pixel, with bit zero at the bottom.
- Parameters:
glyph (Byte array of eight column bytes.) – The user-defined character’s bit pattern.
centre (Bool) – Centre the icon in the matrix. Default: False.
- Returns:
The instance (
self).
Example
# Display a smiley in the centre of the display
icon = b"\x3C\x42\xA9\x85\x85\xA9\x42\x3C"
led.set_icon(icon).draw()
- HT16K33Matrix.set_character(ascii_code, centre=False)
Write a character from the display’s character set. Pass the Ascii code of the character to be displayed. If you need other letters or symbols, these can be generated using set_icon().
Optionally, you can also specify whether you want the character centred on the display, if this is possible. Otherwise the character will be placed from the left-most column.
If you have set any user-definable characters, you can write these by passing their ID value (between 0 and 31) in place of an Ascii code.
- Parameters:
ascii_code (Integer) – The Ascii code of the desired character, or a user-defined character ID.
centre (Bool) – Centre the icon in the matrix. Default: False.
- Returns:
The instance (
self).
Example
# Display 'A' on the LED and centre it
led.set_character(65, True).draw()
- HT16K33Matrix.define_character(glyph, code=0)
To record a user-definable character, write its pixel pattern and specify the ID you will use to write the character to the display buffer using set_character(). The IDs available are 0-31.
- Parameters:
glyph (Integer) – The user-defined character’s bit pattern.
code (Integer) – The character’s ID code. Default: 0.
- Returns:
The instance (
self).
Example
# Define two halves of a space invader
icon = b"\x00\x00\x0E\x18\xBE\x6D\x3D\x3C"
led.define_character(icon, 0)
icon = b"\x3C\x3D\x6D\xBE\x18\x0E\x00\x00"
led.define_character(icon, 1)
- HT16K33Matrix.scroll_text(the_line, speed=0.1)
Call
scroll-text()to write a line of text to the display and see it scroll right to left until all of the string’s characters have been shown. The method pads the text with spaces so that the text completely clears the screen at the end of the animation.You can include user-defined graphics in your string by embedding escaped hex characters for the graphics’ ID codes, as the example below shows.
- Parameters:
the_line (String) – The string to scroll.
speed (Integer/Float) – Optional animation speed in seconds. Default: 0.1s.
Example
text = "Eeeek! The Space Invaders are coming... \x00\x01"
led.scroll_text(text)
- HT16K33Matrix.plot(x, y, ink=1, xor=False)
To set a single pixel on the matrix, pass in the pixel’s co-ordinates.
The value of
inkcan be set to 1 to set the pixel, or 0 to clear it.The value of
xorparameter is also optional: pass in True to cause the target pixel to flip if it already in the specified ink colour.- Parameters:
x (Integer) – The X co-ordinate of the pixel.
y (Integer) – The Y co-ordinate of the pixel.
ink (Integer) – Optional ink colour. Default: 1.
xor (Bool) – Flip the pixel if it is already of the specified colour. Default: False.
- Returns:
The instance (
self).
Example
# Draw a border at the edge of the matrix
for x in range(8):
    led.plot(x, 0).plot(x, 7)
for y in range(1,6):
    led.plot(0, y).plot(7, y)
led.draw()
- HT16K33Matrix.is_set(x, y)
This method returns True if the specified pixel is set, otherwise False.
- Parameters:
x (Integer) – The X co-ordinate of the pixel.
y (Integer) – The Y co-ordinate of the pixel.
- Returns:
Whether the pixel is set (True) or unset (False).
- HT16K33Matrix.clear()
Wipe the class’ internal display buffer.
clear()does not update the display, only the buffer. Call draw() to refresh the LED.- Returns:
The instance (
self).
Example
# Clear the display
led.clear().draw()
- HT16K33Matrix.draw()
Call
draw()after changing any or all of the internal display buffer contents in order to reflect those changes on the display itself.