1-Wire Support
This page details Depot’s client-side 1-Wire driver and client-code that makes use of it.
The current version is 1.2.2. Read the release notes.
The 1-Wire driver is located in the repo’s /client/onewire directory. It depends on the Depot serial driver and utilities, which are found in the repo’s /client/common directory. Consult the header files for details of the public functions.
The driver enables the following client apps. You can find the source code for these apps in the /client directory.
The default data pin for 1-Wire communications is GPIO 10. You change change the 1-Wire data pin to another GPIO with (using GPIO 1 as an example):
cliwire {device_port} c 1
If you are not using GPIO 10, you will need to run this command this before running ds18b20 or sensor.
cliwire
cliwire has the the following syntax:
cliwire {device_port} [command] ... [command]
Note
Arguments in braces { } are required; those in square brackets [ ] are optional.
device_portis the USB-connected 1-Wire host’s Unix device path.
On a Mac, this will be something like/dev/cu.usbmodem-101.
On a Raspberry Pi, this will be/dev/ttyACM0.[command]is an optional command block, comprising a single-character command and any required data as described in the following table.
Command |
Arguments |
Description |
|---|---|---|
|
Initialise the target 1-Wire bus. |
|
|
|
Choose the host’s 1-Wire data pin |
|
|
Write the supplied data to the 1-Wire device. |
|
|
Read |
|
Issue a 1-Wire bus reset |
|
|
Display devices on the 1-Wire bus. |
|
|
Display 1-Wire host device information |
|
|
|
Turn the bus host’s LED on or off |
|
Display help information |
Error and Data Output
All message output is routed via stderr. All data read back from a device is output to stdout so it can be captured to a file. Returned data is currently presented as hexadecimal strings. For example:
cliwire /dev/cu.usbmodem-101 x w 0xCC,0x44
cliwire /dev/cu.usbmodem-101 x w 0xCC,0xBE r 2 >> reading.txt
cat reading.txt
4403
As the example above shows, you can include multiple commands, each of which will be processed in sequence. Here we reset the 1-Wire bus (x), write 0xCC (1-Wire Skip ROM command) then 0x44 (convert the sensor reading). Next we again reset the 1-Wire bus (for a new transaction), write 0xCC then 0xBE (read the sensor’s scratchpad RAM), and finally read back two bytes (the first two of the nine returned).
ds18b20
ds18b20 is a CLI utility that simply displays the current temperature as read from an Analog Devices DS18B20 1-Wire thermometer. It uses the default 1-Wire data pin, or a pre-set alternative if you have set one as outlined above.
Make sure you place a 4.7k Ω resistor between the 3V3 line and your data pin:
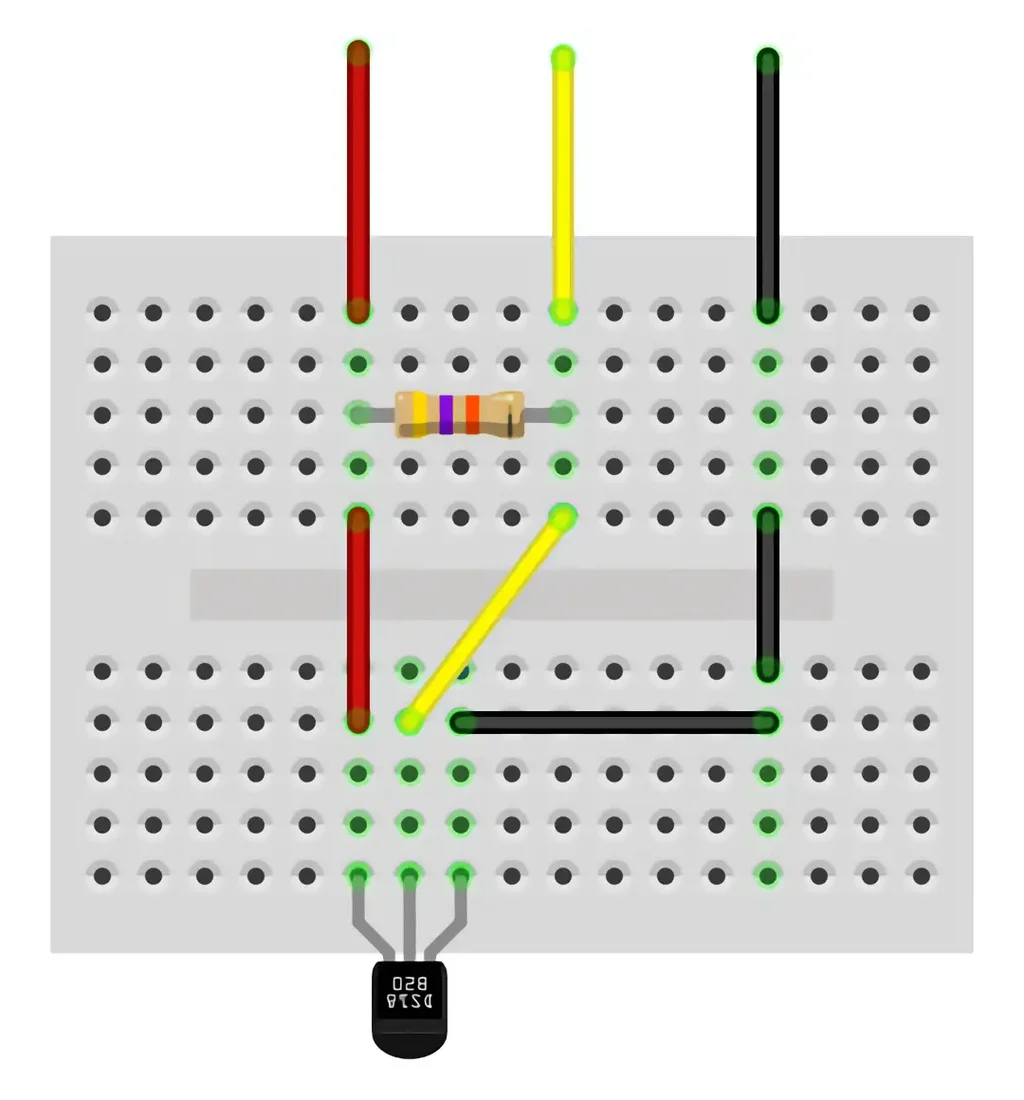
Run it with:
ds18b20 {device_port}
Note
Arguments in braces { } are required; those in square brackets [ ] are optional.
{device}is the path to the multi-bus adaptor’s device file, eg./dev/cu.usbserial-DO029IEZ.
There are no commands.
Note
ds18b20 is written in Swift but leverages the same C serial and 1-Wire libraries as cliwire. It may compile and run under Linux (as per the other Depot client CLI apps), but I have not confirmed this.
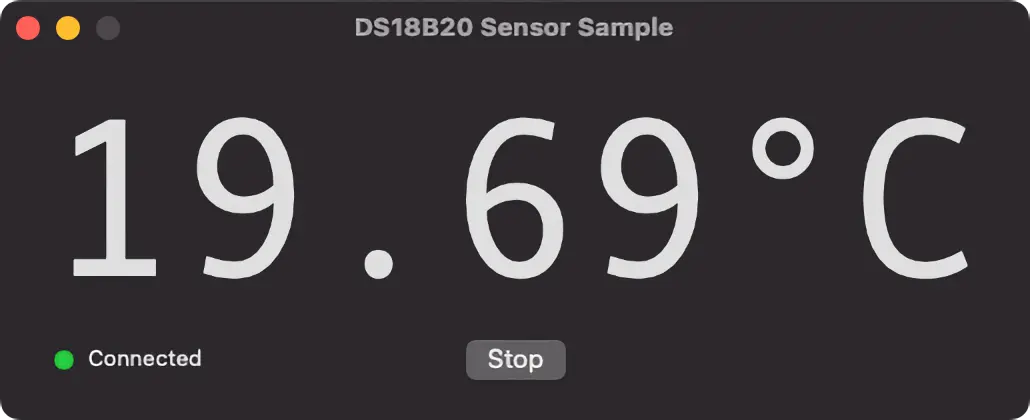
Sensor
Sensor is a macOS GUI app primarily written in Swift but which leverages Depot’s C serial and 1-Wire libraries. It uses the default 1-Wire data pin, or a pre-set alternative if you have set one as outlined above.
See above for the circuit you will need.