Microvisor Nucleo Development Board Connectivity Guide
Danger
This is historical documentation, and tooling and console operations are no longer available.
The Nucleo Development Board (NDB) incorporates a Quectel EG-21G cellular modem, and ESP32 WiFi/BLE module, and an Ethernet jack. WiFi and Ethernet can be used by the NDB to connect to the Internet in place of the cellular modem. This takes place automatically at power on:
For Ethernet, connect an RJ-45 cable between your NDB and your router, then connect the NDB to power.
For WiFi, add your wireless network’s credentials to the board (see below) and then power-cycle the NDB.
When it is re-booted, Microvisor will attempt to connect to the Internet in this order:
With Ethernet if it is wired up to an active network.
With WiFi if it is configured with credentials and the specified network can be found.
Cellular via Super SIM.
Warning
Microvisor currently supports only Super SIM for cellular connectivity. We expect to enable support for other SIMs in a future release.
As soon as a connection is made, no other devices are used. For example, if Ethernet is not connected, Microvisor will attempt to connect by WiFi. If it succeeds, it will not attempt to connect by cellular.
To configure your NDB’s WiFi credentials, follow these steps. They assume you have the Microvisor CLI installed. This can be done on Ubuntu Linux, Windows 10/11, and macOS natively. If you are running Windows Subsystem for Linux (WSL), you will not be able to connect to Linux serial ports, so we recommend following these instructions under your native OS.
Warning
On Linux, you will need to perform these commands as root or as a member of the group dialout. To add a user to that group, open a terminal and run:
sudo usermod -a -G dialout <username>
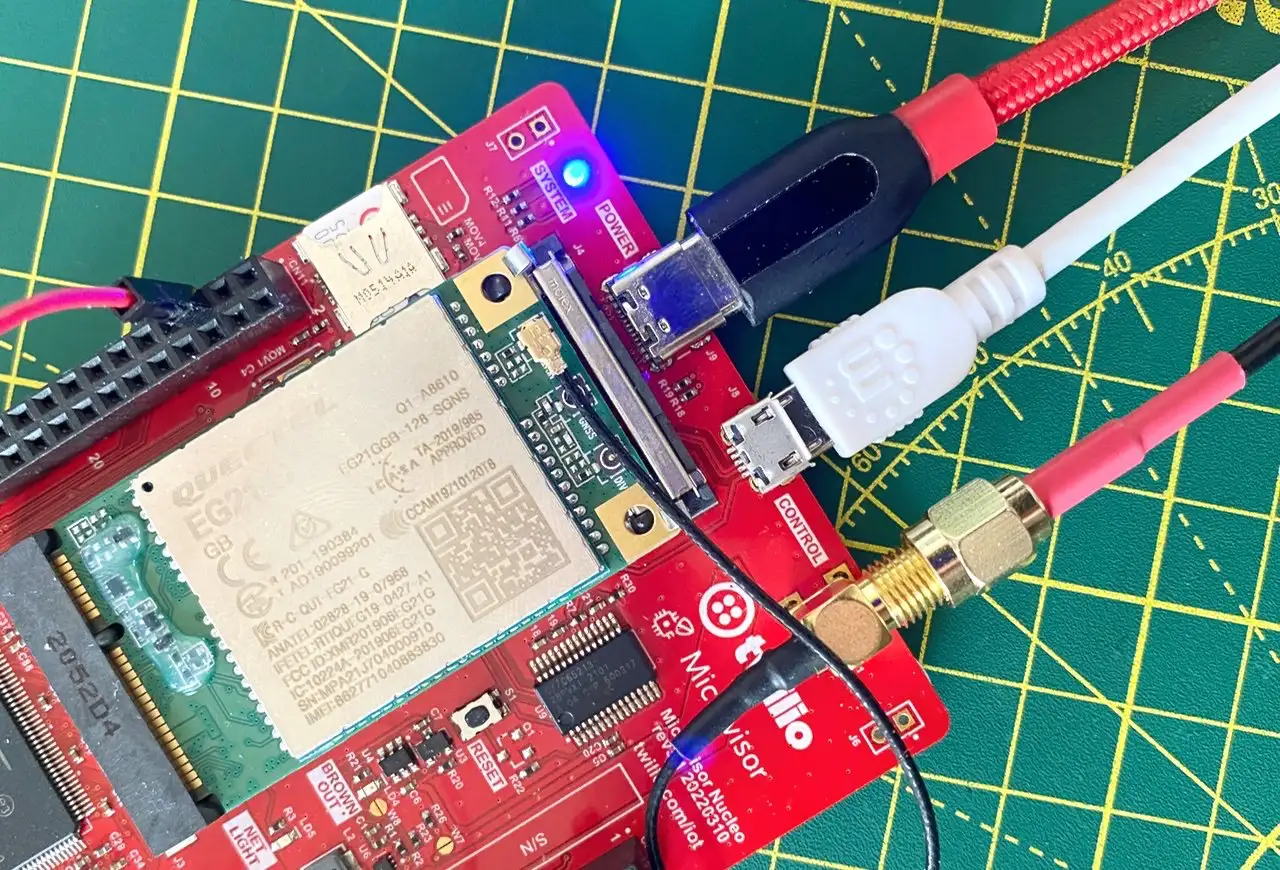
Connect the supplied Micro USB cable to your computer and to the NDB’s CONTROL port. If you use your own Micro USB cable, make sure it is data-capable, not power only.
Press RESET on the NDB.
The NDB’s SYSTEM LED will turn solid blue, and no application code will be run:
Open a terminal or shell and run:
microvisor wificonfig ports
This will give you a list of serial ports. You will likely see
/dev/ttyUSB0or/dev/ttyACM0on Linux,/dev/cu.usbmodemon macOS, orCOMxon Windows, depending on your hardware. Make a note of this.To set your WiFi credentials run the following command, substituting your own values for the placeholders:
microvisor wificonfig set <YOUR_SSID> <YOUR_PASSPHRASE> <YOUR_PORT>
You can check the saved credentials with:
microvisor wificonfig get <YOUR_PORT>
Note that this will display your SSID in the terminal.
Remove the Micro USB cable from the NDB and power-cycle the board. A full power-cycle is required: pressing RESET will not move the board out of provisioning mode.