Psion Connectivity
To connect a Psion to a modern computer, you will require:
- A USB-to-RS232 adaptor:
This must be able to support DSR/DTR hardware control and not many on the market do. Look for products with a Prolific Technologies PL2303 chip. I use this one. Mac users will need to install the driver software available for free from the Mac App Store.
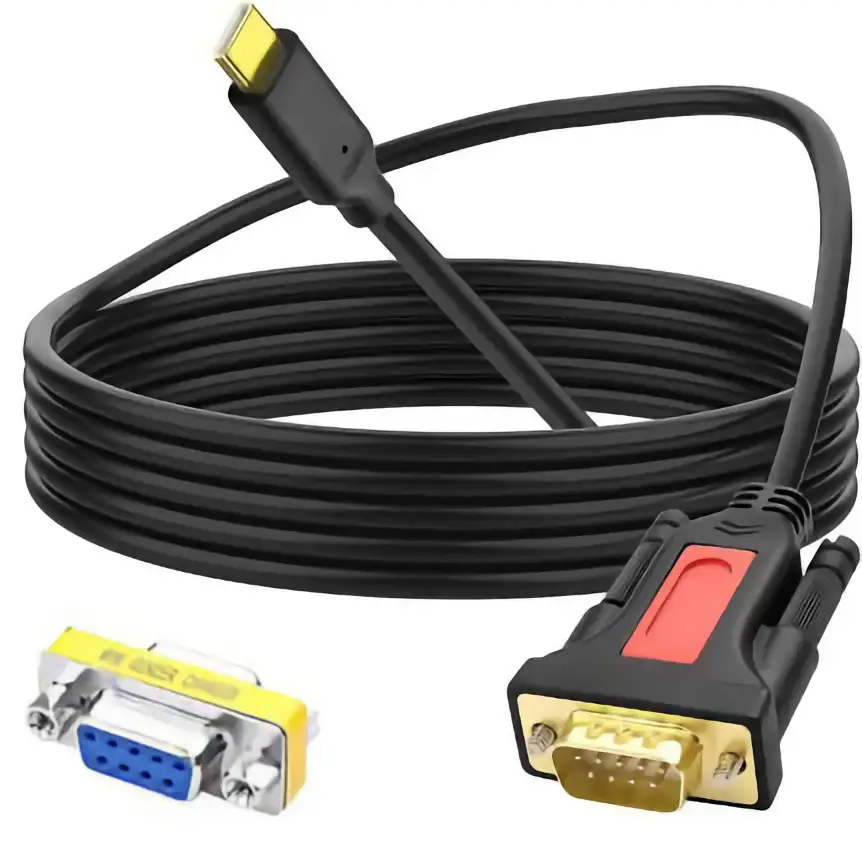
PL2303-based usb-to-serial adaptor cable
- Optionally, a 9-pin D-sub gender changer.
The Psion cables have female D-sub connectors. If your USB RS232 adaptor also has a female connector, you’ll need a male-to-male gender adaptor to connect the two cables.
macOS
Series 3
For the Series 3, I use Psion’s MS-DOS oriented MCLINK running within a DOSBox-Staging instance.
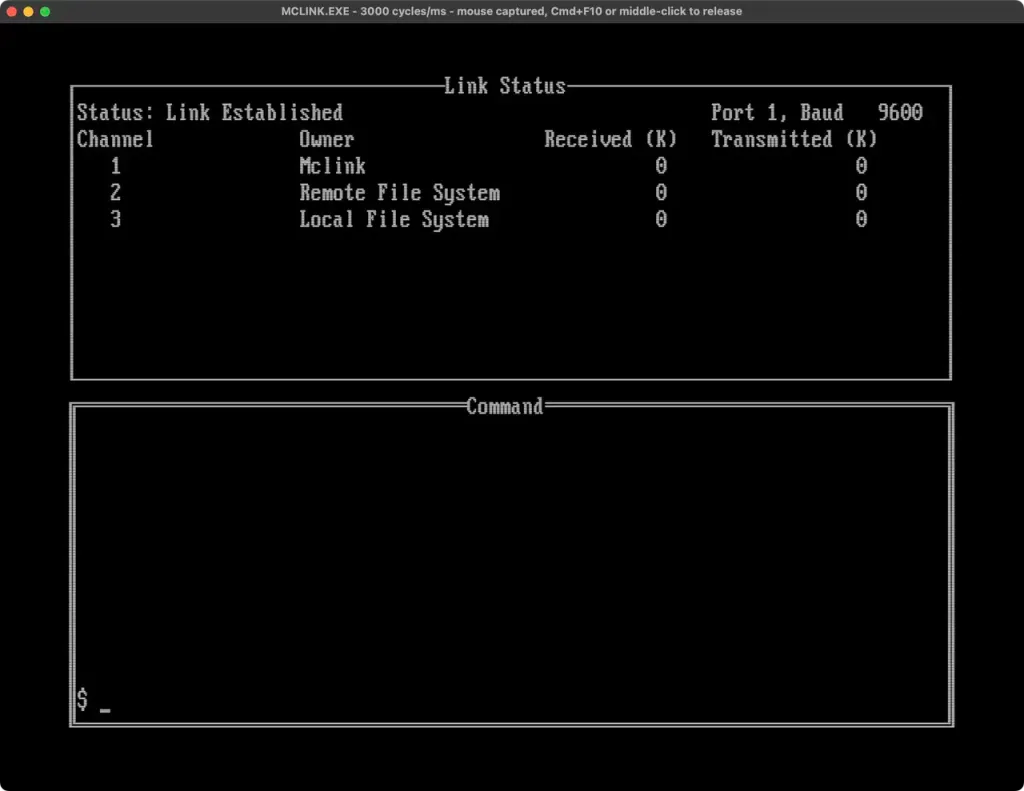
MCLINK running under DOSBox-Staging
You can install DOSBox-Staging using Homebrew: brew install dosbox-staging.
You can download MCLINK here.
You will need to adjust DOSBox-Staging’s config file, $HOME/Library/Preferences/DOSBox/dosbox-staging.conf. In the [serial] section, edit the line prefixed serial1 to read:
serial1 = direct baudrate:19200 realport:cu.PL230G-USBtoUART10
The value immediately after realport: will depend on the specific USB serial adaptor you have connected to your Mac. Run ls /dev/cu* to list all such devices currently connected. You may see others, such as AirPod Bluetooth adaptors.
At the end of the file, in the [automount] section, you can automount a local folder, eg.:
mount c /Users/smitty/Psion/
Finally, to run MCLINK automatically, add the very end:
c:\mclink -p1 -b19200
This assumes you have placed MCLINK.EXE in whichever folder you have just mounted as the MS-DOS C: drive.
Series 5
For the Series 5, I use Reconnect.
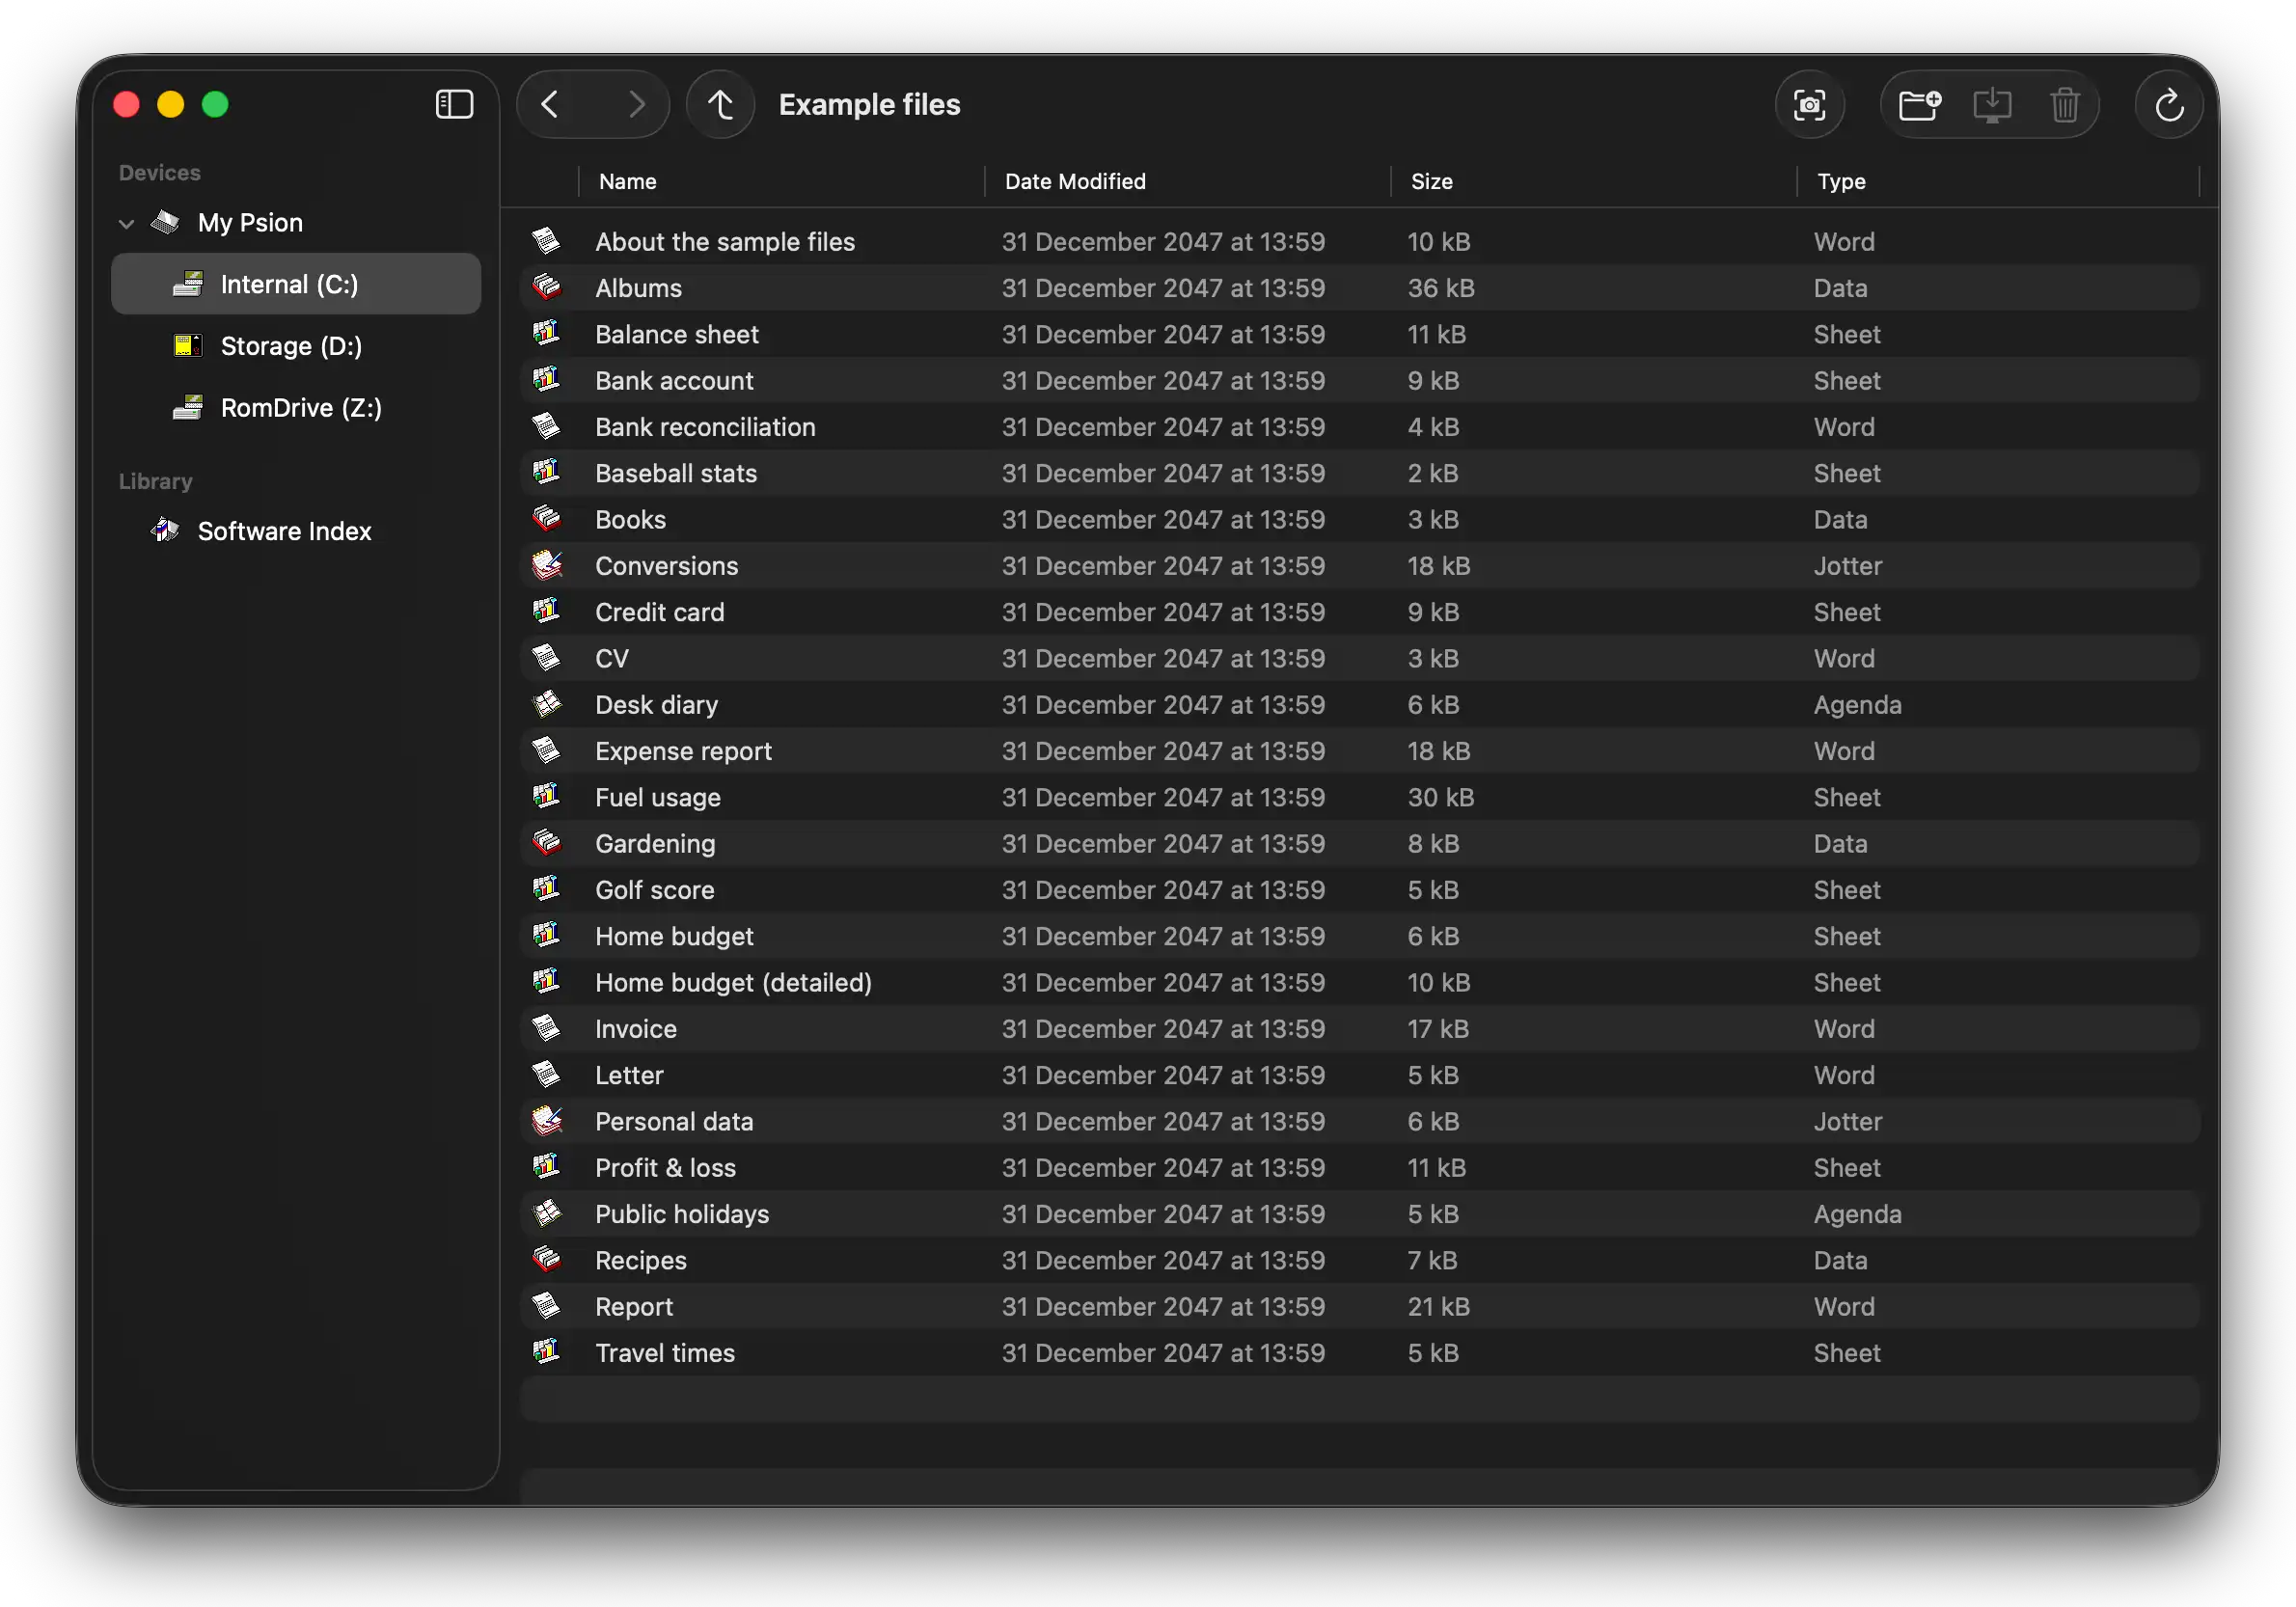
Reconnect running under macOS
Alternatively, if you prefer the command line over a GUI, it is possible to run plptools. For broad instructions, see the Linux section, below, but you will need to replace step 2 with:
git clone https://github.com/jbmorley/plptools
This contains code modified to ensure building on Apple Silicon-based Macs. Additionally, insert these two steps immediately before step 5.
brew install coreutils readline pkg-config libtool automake gettext macfuseEXPORT PATH="$(brew --prefix coreutils)/libexec/gnubin:$(brew --prefix m4)/bin:$PATH"EXPORT CPPFLAGS="-I$(brew --prefix gettext)/include -I$(brew --prefix readline)/include" LDFLAGS="-L$(brew --prefix gettext)/lib -L$(brew --prefix readline)/lib"./bootstrap --skip-poetc.
Linux
Series 3
Run Psion’s MS-DOS based MCLINK under the MS-DOS emulator DOSBox-Staging. Follow the instructions for macOS, above, but note that the serial adaptor will appear not as /dev/cu.{something}``but as ``/dev/ttyUSB0, /dev/ttyACM0 or /dev/ttyACM1.
Series 5
For the Series 5, I use plptools.
sudo apt update && sudo apt install -y libreadline-dev pkg-config gettext autopoint libfuse-dev libattr1-devgit clone https://github.com/plptools/plptoolscd plptoolsgit submodule update --init --recursive./bootstrap --skip-po./configuremakemake installThe
ncpddaemon is installed into/usr/local/sbinso make sure this is in your$PATH, or copy/usr/local/sbin/ncpdto a directory that is in your$PATH
Connect your USB serial adaptor to your computer and to your Psion.
Power on the Psion and hit Ctrl-L to check that Remote Link is enabled.
ncpd -s /dev/ttyUSB0plpftp
Running plpftp this way takes you into its interactive mode: use standard Unix file navigation commands like ls, cd and mkdir to move around the connected device’s file system.
To transfer a file from the Psion, run GET {psion file name} {computer file name}.
To transfer a file to the Psion, run PUT {computer file name}. Files are stored with the same name.
Note
plpftp doesn’t appear to handle file paths when using GET and PUT, so you will need to moved to the correct upload/download directory before attempting to transfer your files.
Enter bye to exit plpftp.