HT16K33SegmentGen
This is a hardware driver for ‘raw’ HT16K33 chips and segment LEDs. The driver communicates using I²C.
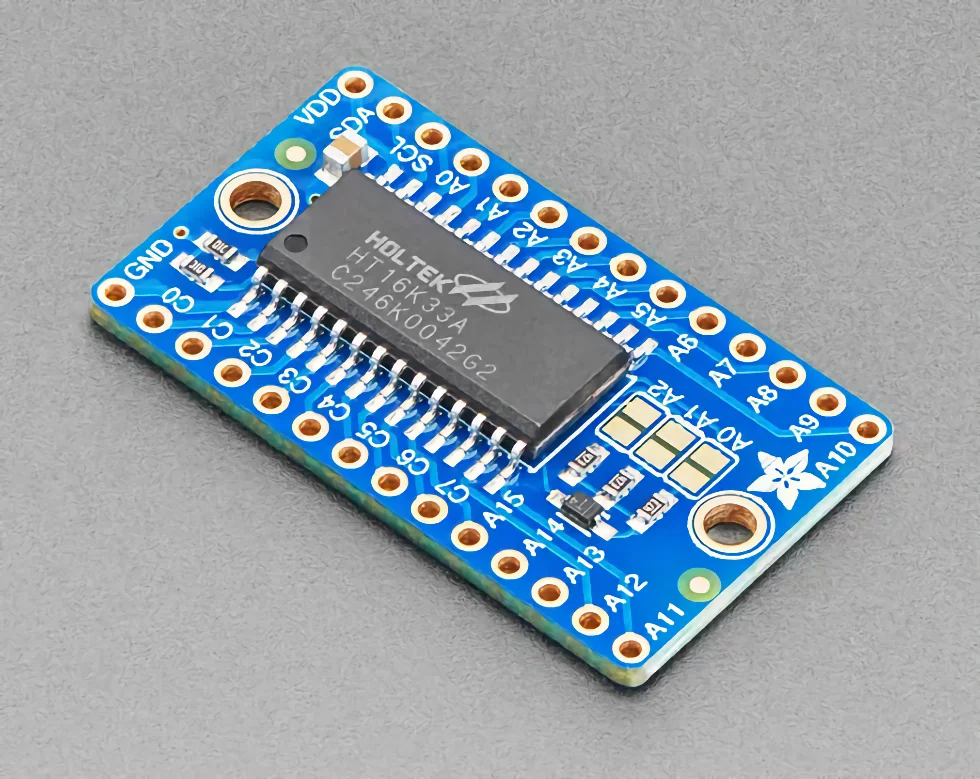
Adafruit 16x8 LED Matrix Driver Backpack. Image © Adafruit
Attention
This functionality requires version 3.5.0 of the HT16K33 library.
Compatibility
HT16K33SegmentGen is compatible with MicroPython and CircuitPython.
Importing the Driver
The driver comprises a parent generic HT16K33 driver and a child driver for the display itself. All your code needs to do is import the latter:
from ht16k33segmentgen import HT16K33SegmentGen
You can then instantiate the driver.
You will need both the display driver file and ht16k33.py in your project folder.
Characters
The class incorporates its own (limited) character set, accessed through the following codes:
Digits 0 through 9: codes 0 through 9
Characters A through F: codes 10 through 15
Space character: code 16
Minus character: code 17
Degree character: code 18
Display Digits
You can use as many digits as you wish, up to a maximum of eight. The digits are numbered 0 to 7, from left to right. You may use an odd number of digits.
Method Chaining
Most methods return a reference to the driver instance (self) to allow method chaining with dot syntax:
Class Constructor
- class HT16K33SegmentGen(i2C_bus, i2c_address=0x70, digits=8)
To instantiate an HT16K33SegmentGen object pass the I²C bus to which the display is connected and, optionally, its I²C address if you have changed the display’s address using the solder pads on rear of the LED’s circuit board. You may also pass the number of digits in your setup (1-8).
The passed I²C bus must be configured before the HT16K33SegmentGen object is created.
- Parameters:
i2c_bus (I²C bus object) – The I²C bus to which the display is connected.
i2c_address (Integer) – An optional I²C address. Default:
0x70.digits – The number of digits in your display. Default:
8.
Examples
# MicroPython
from ht16k33segmentgen import HT16K33SegmentGen
from machine import I2C

# Update the pin values for your board
DEVICE_I2C_SCL_PIN = 5
DEVICE_I2C_SDA_PIN = 4

i2c = I2C(scl=Pin(DEVICE_I2C_SCL_PIN), sda=Pin(DEVICE_I2C_SDA_PIN))
led = HT16K33SegmentGen(i2c, digits=4)
Class Methods
- HT16K33SegmentGen.set_brightness(brightness=15)
Set the LED’s brightness (its duty cycle). If you don’t pass a value, the method will default to maximum brightness.
- Parameters:
brightness (Integer) – An optional brightness value between 0 (dim) and 15 (maximum brightness). Default: 15.
Example
# Turn down the display brightness
led.set_brightness(1)
- HT16K33SegmentGen.set_blink_rate(rate=0)
This method can be used to flash the display.
The value passed into
rateis the flash rate in Hertz. This value must be one of the following values, fixed by the HT16K33 controller: 0.5Hz, 1Hz or 2Hz. You can also pass in 0 to disable flashing, and this is the default value.- Parameters:
rate (Integer/Float) – The flash rate in Hertz. Default: 0.
Example
# Flash the LED every second
display.set_blink_rate(1)
- HT16K33SegmentGen.rotate()
Rotate the display orientation by 180 degrees. Once called, the display will remain rotated until you call
rotate()again. It is expected thatrotate()will be called once, right after instantiation, but it does give some scope for interesting effects.rotate()does not update the display, only the buffer. Call draw() to refresh the LED.- Returns:
The instance (
self).
Example
# Present error 2 -> 'Err2'
led.set_character("E", 0).set_glyph(0x50, 1)
led.set_glyph(0x50, 2).set_number(2, 3).draw()

# Flip message upside down
led.rotate().draw()
- HT16K33SegmentGen.set_glyph(glyph, digit=0, has_dot=False)
Write a character that is not in the character set — see Characters, above — to a specified digit.
Calculate the glyph pattern value using the following chart. The segment number is the bit that must be set to illuminate it (or unset to keep it unlit):
    0
    _
5 |   | 1
  |   |
    - <----- 6
4 |   | 2
  | _ |
    3
For example, to define the letter
P, we need to set segments 0, 1, 4, 5 and 6. In bit form that makes0x73, and this is the value passed intoglyph.By default, the decimal point is not lit.
- Parameters:
glyph (Integer) – A glyph-definition pattern.
digit (Integer) – The digit to show the number. Default: 0.
has_dot (Bool) – Is the character’s decimal point set? Default:
False.
- Returns:
The instance (
self).
Example
# Set the display to --:--
led.set_character("-", 0).set_character("-", 1).set_character("-", 2).set_character("-", 3)
led.set_colon().draw()
- HT16K33SegmentGen.set_character(character, digit=0, hasDot=False)
Write a character from the display’s hexadecimal character set to a single digit.
Pass the the letter to be displayed (“0” to “9”, “A” to “F”, “-” or “ “) as a string. You can also pass the string “deg” for a degree symbol. If you need other letters or symbols, these can be generated using set_glyph().
By default, the decimal point is not lit.
- Parameters:
character (String) – The alphanumeric character to display.
digit (Integer) – The digit to show the character. Default: 0.
has_dot (Bool) – Is the character’s decimal point set? Default:
False.
- Returns:
The instance (
self).
Example
# Display 'bEEF' on the LED
led.set_character("b", 0).set_character("e", 1)
led.set_character("e", 2).set_character("f", 3).draw()
- HT16K33SegmentGen.clear()
Wipe the class’ internal display buffer.
clear()does not update the display, only the buffer. Call draw() to refresh the LED.- Returns:
The instance (
self).
Example
# Clear the display
led.clear().draw()
- HT16K33SegmentGen.draw()
Call
draw()after changing any or all of the internal display buffer contents in order to reflect those changes on the display itself.