HighlighterSwift
A Swift wrapper for the popular Highlight.js syntax highlighter
Latest Release: 3.1.0
New Version
This library provides a Swift wrapper for the popular Highlight.js code highlighting utility.
It is a more up-to-date version of Juan Pablo Illanes’ Highlightr library, which is now no longer maintained.
How to use HighlighterSwift
Installation
To add HighlighterSwift to your project, use Xcode’s File > Swift Packages menu command. When requested, enter this repo’s git URL, https://github.com/smittytone/HighlighterSwift.git.
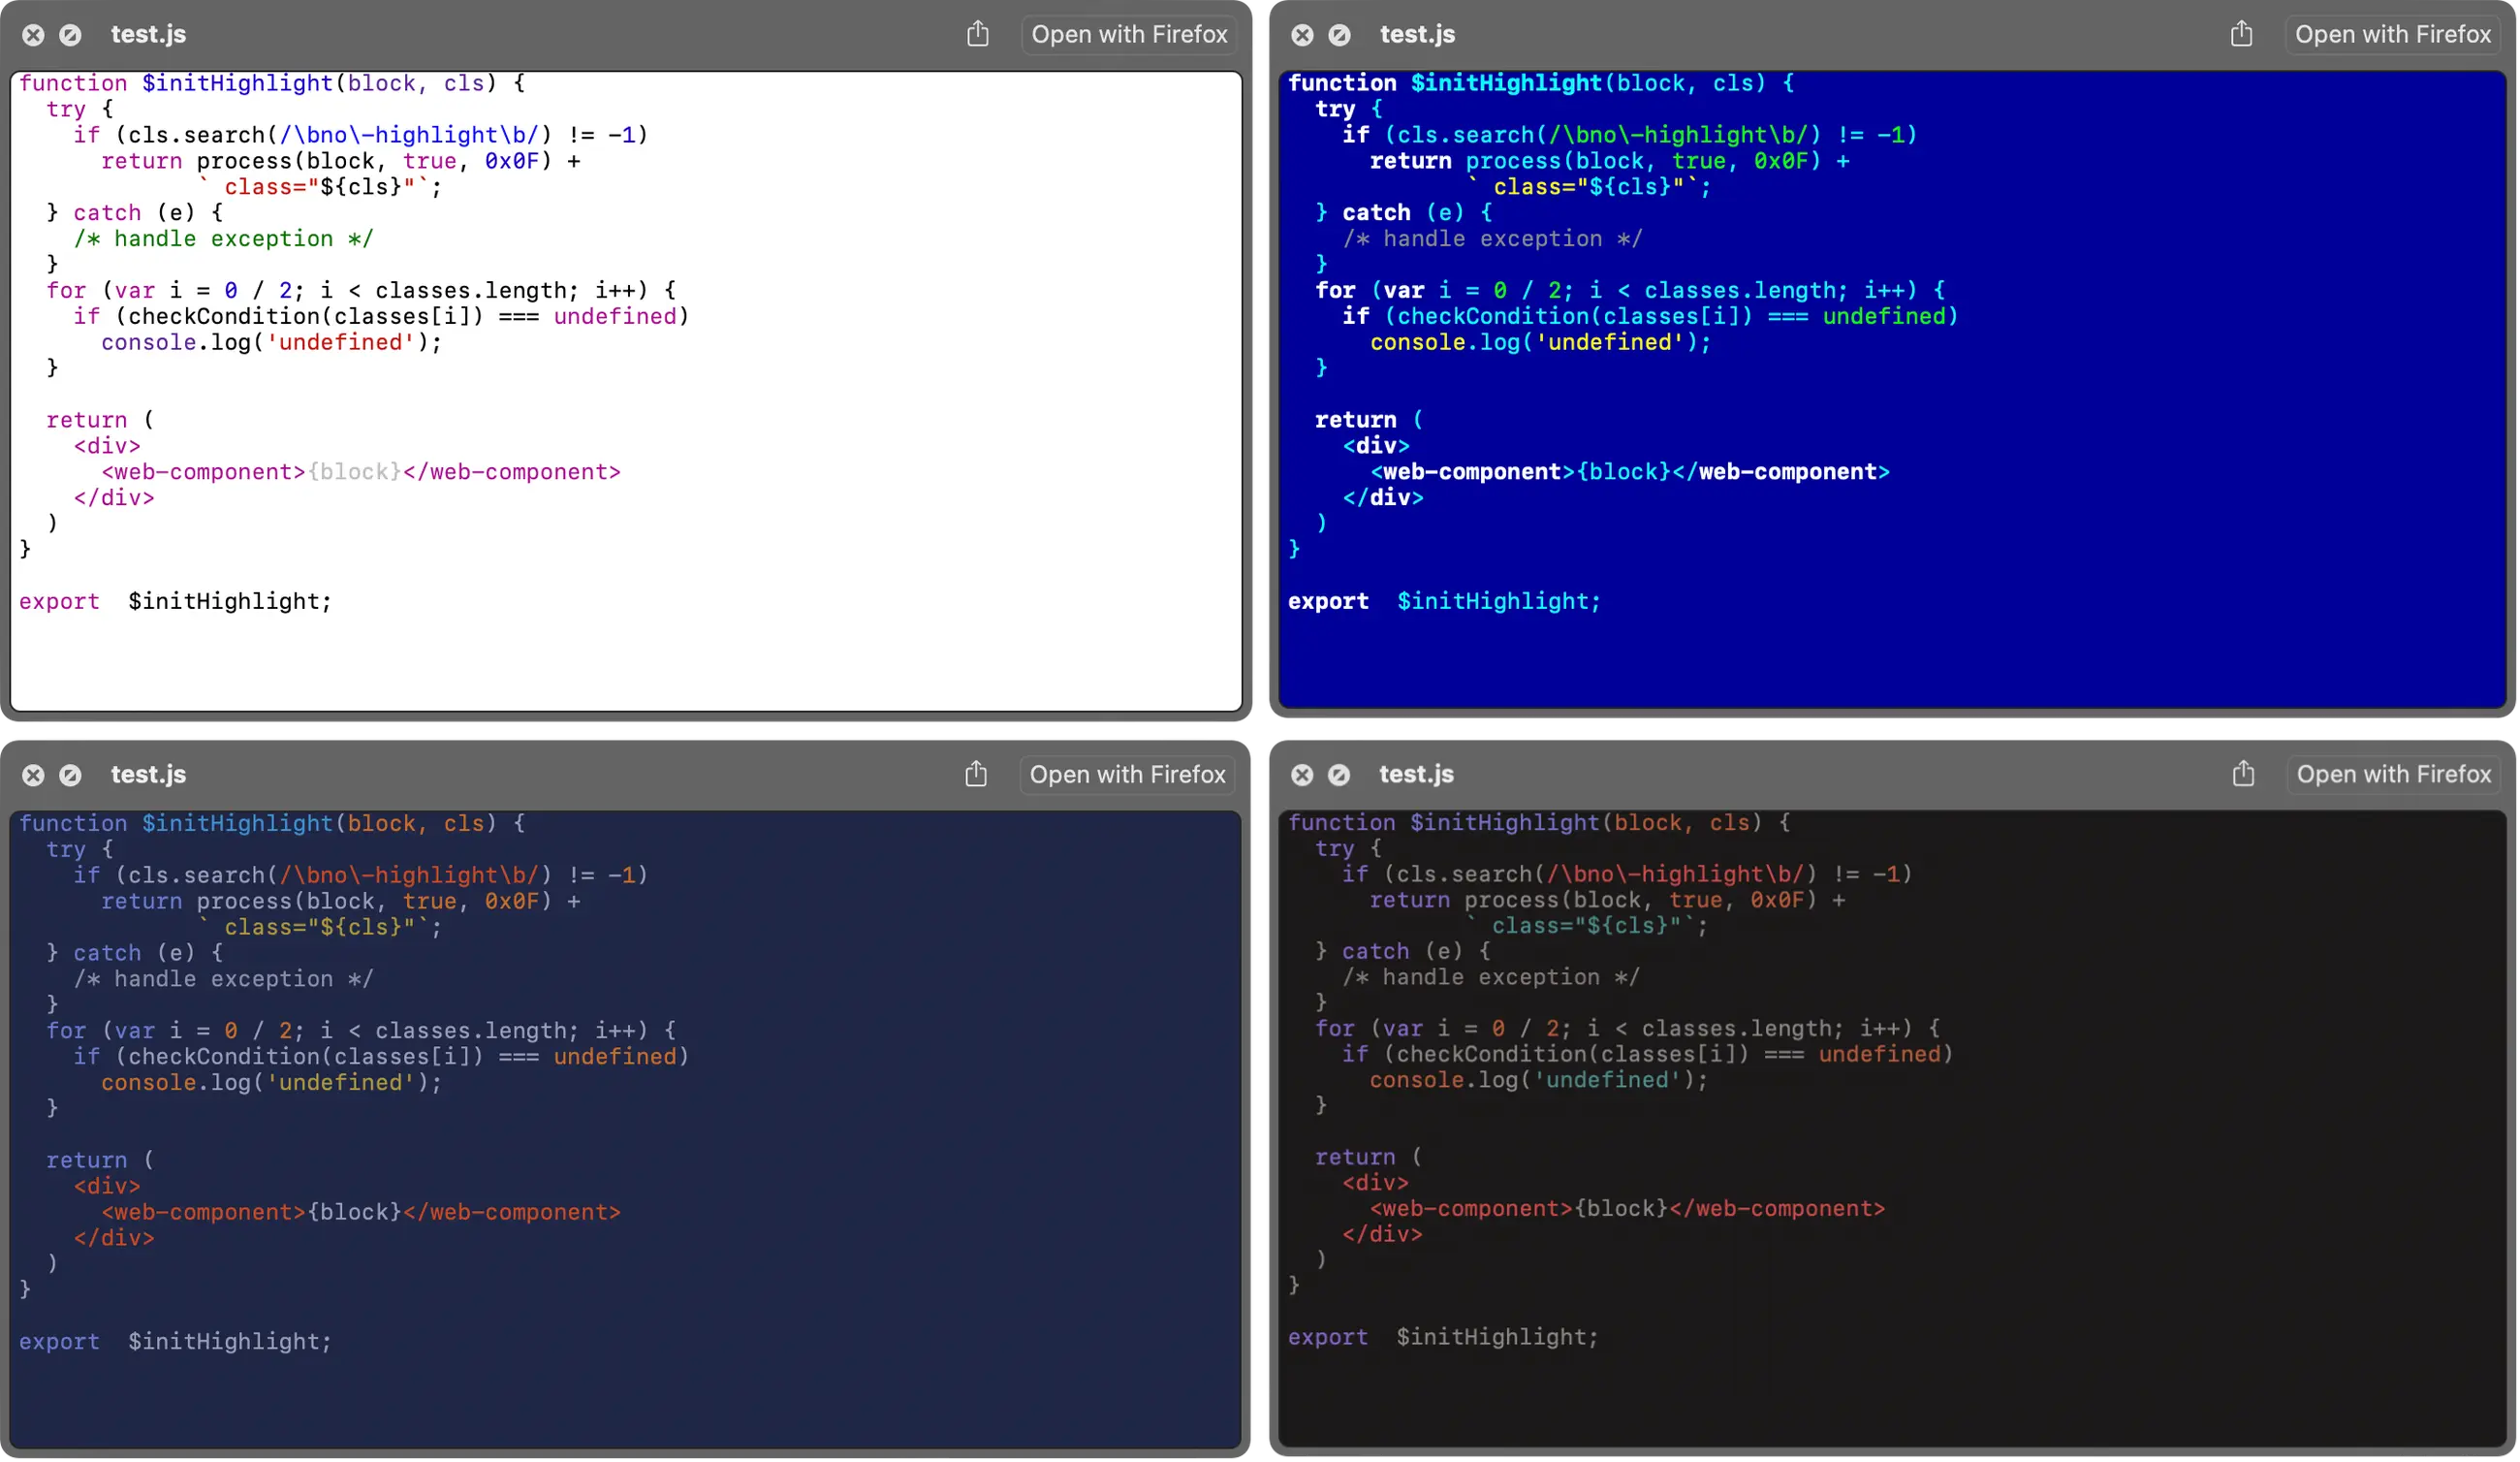
The library already contains the Highlight.js code and themes. Please note that some themes have been modified slightly to meet the needs of another project. Specifically:
- Background images have been removed from the Brown Paper, Greyscale, Schoolbook and Pojoacque themes.
- The two Kimbie themes have been renamed for consistency.
- Colours have been formalized as hex values.
You should also note that some theme style elements may not fully match the latest versions offered by Highlight.js.
Usage
Make sure Highlighter is listed under Frameworks, Libraries, and Embedded Content under your target’s General settings.
Include import Hightlighter at the top of your source code.
Instantiate a Highlighter object. Its init() function returns an optional, which will be nil if the Highlight.min.js file could not be found or is non-functional, or the Default theme CSS file is missing:
if let highlighter = Highlighter() {
    ...
}
You can set a specific theme using the setTheme() function:
highlighter.setTheme("atom-one-light")
You can also apply your chosen font at this time too in place of the default: 14pt Courier.
highlighter.setTheme("atom-one-light",
                     withFont: "Menlo-Regular",
                     ofSize: 16.0)
You can also specify a line spacing value:
highlighter.theme.lineSpacing = self.lineSpacing * self.fontSize
and/or a paragraph spacing value:
highlighter.theme.paraSpacing = 1.0
A value of 0.0 for lineSpacing is equivalent to single spacing. paraSpacing is the space in points added at the end of the paragraph — use 0.0 for no additional spacing (the default).
Both values must be non-negative. Negative values be replaced with default values.
Note These new values are applied to the instance’s theme property.
You can set or change your preferred font later by using setCodeFont(), which takes an NSFont or UIFont instance configured for the font and text size you want, and is called on the Highlighter instance’s theme property:
let font: NSFont = NSFont.init(name: "Menlo-Regular", size: 16.0) ?? NSFont.systemFont(ofSize: 16.0)
highlighter.theme.setCodeFont(font)
Finally, get an optional NSAttributedString containing the formatted code:
if let displayString: NSAttributedString = highlighter.highlight(codeString, as: "swift") {
    myTextView.textStorage!.addAttributedString(displayString)
}
The second parameter of highlight() is the name of language you’re rendering. If you leave out this parameter, or pass nil, HighlighterSwift will use the language detection feature built into Highlight.js.
Optionally, pass in a fourth parameter, an instance of a LineNumberingData structure, to instruct HighlighterSwift to add line numbers to the code according to the values included in this data. The default for this parameter is nil (don’t add line numbers).
public struct LineNumberData {
    public var numberStart: Int = 1
    public var minWidth: Int = 2
    public var separator: String = "  "
    public var usingDarkTheme: Bool = false
    public var lineBreak: String = "\n"
    public var fontSize: CGFloat = 16.0
}
LineNumberingData properties allow you to specify:
- The initial line number of the rendered code. Default: 1.
- The minimum number of digits in the line number. Default: 2. This will always be overridden by the maximum line number. For example, if you set this to 3 (so the first line might be rendered as
001) but there are a thousand or more lines in the code, the first line will be rendered as0001. - A separator string to be placed between the line number and the line itself. Default: two spaces.
- Is the theme you are using dark? Default:
false. - The line-break string used in the tokenized source code. Default:
\n. Note You should not need to change this. - The size of the line number font. Typically this will match your code font’s size. Default: 16.0 points.
All these values are optional.
Use this feature in this way:
var lineNumberingData = LineNumberData()
lineNumberingData.minWidth = 4
lineNumberingData.numberStart = 100
lineNumberingData.usingDarkTheme = !isMacInLightMode()
lineNumberingData.fontSize = self.settings.fontSize

if let displayString: NSAttributedString = highlighter.highlight(codeString, as: "swift", lineNumbering: lineNumberingData) {
    myTextView.textStorage!.addAttributedString(displayString)
}
IMPORTANT Line-numbering is intended solely for apps which present code, not for apps which edit code. In the latter case, HighlighterSwift line-numbering should not be used (call the highlight() method with no fourth parameter) and you should implement your own, editing-friendly line-numbering mechanism.
You can get a list of supported languages by the name they are known to Highlight.js by calling supportedLanguages() — it returns an array of strings.
The function availableThemes() returns a list of the installed themes.
Source Code
You can view HighlighterSwift’s source code at GitHub.
Release Notes
- 3.1.0 27 May 2026
- Bring all existing themes (styles) up to date with latest
highlight.jsversions. - Add
highlight.jsthemes not yet included in HighlighterSwift. - Support CSS
opacityvalues. - Update processing of theme files.
- Fix a number of themes that had broken in recent releases, eg.
Tomorrow Night. - Fix mis-handling of
highlight.jsformat modifiers (seeTheme.applyStyleToString()).
- Bring all existing themes (styles) up to date with latest
- 3.0.3 29 March 2026
- Add important caveat regarding line-numbering to Read Me. No functional changes to code.
- 3.0.2 24 March 2026
- Tighten error-checking on Highlight.js load.
- 3.0.1 18 March 2026
- Strict concurrency compilation warning fix (thanks @Wcowin).
- 3.0.0 9 February 2026
Potential BreakMigrate minimum supported iOS version to 13.- Fix use of non-shimmed
NSColorandNSFont.
- 2.0.1 2 February 2026
- Correct framework imports for iOS.
- 2.0.0 11 September 2025
Potential BreakMigrate minimum supported macOS version to Big Sur (11).Potential BreakUpdate baseline Swift version to 5.9.Potential BreakChange access rules for many module components.- Add line numbering facility.
- Add preliminary VisionOS support.
- 1.1.7 26 July 2025
- Update to Highlight.js 11.11.1.
- 1.1.6 30 April 2024
- Update to Highlight.js 11.9.1.
- 1.1.5 29 April 2024
- Add dark GitHub theme.
- 1.1.4 10 November 2023
- Update to Highlight.js 11.9.0.
- Fix: add missing iOS-oriented import (thanks
@greggreg)
- 1.1.3 16 May 2023
- Add line and paragraph spacing controls.
- 1.1.2 15 March 2023
- Add missing languages.
- 1.1.1 14 March 2023
- Update to Highlight.js 11.7.0.
- 1.1.0 26 April 2022
- Update to Highlight.js 11.5.0.
- Include all Highlight.js languages.
- 1.0.0 17 June 2021
- Initial public release.
Related Software
Site and software copyright © 2026, Tony Smith